
10 Luxury Packaging Finishing Techniques That Make Products Look More Expensive
Luxury packaging finishing is the layer of decoration that turns a correctly built box into something a customer wants to keep. It is not one technique but a sequence: foil stamping, embossing and debossing, spot UV, lamination, soft-touch coating, textured stock, die-cut windows, edge painting, window patching and inside-print each change how a pack feels in the hand, photographs on a shelf and survives a delivery journey.
The packaging team at DHP Boxes has pulled together the ten finishing techniques used most often on premium packaging, what each one costs in time and money, where it fails in production, and how to combine them without a box that looks busy. By the end you will be able to brief a custom packaging manufacturer precisely enough to get the finish you imagined.
What Luxury Packaging Finishing Actually Does for a Brand
Finishing exists to make a product feel more valuable than its ingredients. A rigid box built from grey board and wrapped in C1S art paper is structurally identical to a premium competitor; what separates them at the point of sale is the finish. A single debossed logo on an uncoated board can read as more expensive than three layered effects, because restraint signals confidence.
Finishing also has a functional job. Matte lamination resists fingerprints on a black pack, anti-scratch matte lamination protects a high-traffic retail box, spot UV draws the eye to one element, and edge painting hides the board core on an exposed tray. Choosing finishing is therefore a balance of perception, durability and cost — not decoration for its own sake.
The Ten Finishing Techniques That Lift Perceived Value
These are the techniques that appear most often in premium briefs, ranked roughly by how much perceived value they add for the money.
01 · Foil stamping
Hot foil stamping presses a metallic or holographic foil into the surface with a heated die. Gold, silver, rose gold and holographic foils deliver the strongest instant lift; blind embossing without ink is the quieter alternative.
02 · Embossing and debossing
Embossing raises a design above the surface and debossing sunk it below. Both give a tactile cue that survives photography poorly but feels premium immediately — ideal for logos and monograms on lids.
03 · Spot UV
A gloss varnish applied selectively over a matte base, usually laminated. Spot UV creates a sharp tonal contrast, especially on dark board, and works well for patterns and single statements.
04 · Soft-touch coating
A velvety lacquer or film that gives a suede-like hand feel. Soft-touch is the most requested premium finish for tech and fragrance, but it shows fingerprints and scuffs unless specified carefully.
05 · Matte and gloss lamination
Matte lamination is the restrained, modern default; gloss lamination is the traditional high-shine look. Anti-scratch matte lamination is the working version for boxes that will be handled repeatedly.
06 · Textured and fancy paper
Textured paper, pearl paper and leatherette wraps deliver tactile variety without any coating at all. They are the finishing choice of brands moving away from plastic lamination.
07 · Die-cut windows
A die-cut opening with PET or PLA window patching reveals the product without opening the box. It is a structural finish rather than a surface one, and it changes both the dieline and the packing line.
08 · Edge painting
Colour applied to the exposed board edge of a tray or lid. A single precise edge colour reads as a deliberate design decision and is one of the cheapest ways to lift a plain rigid box.
09 · Inside printing
Printing the interior lid or base liner. Inside print turns the opening moment into a second brand surface and is common on magnetic closure boxes and drawer boxes.
10 · Special inks and varnish
UV varnish, matte varnish, metallic inks and glitter effect inks expand the palette without full foil tooling. They are less durable than foil but far cheaper at low volume.
How the Main Finishes Compare on Cost, Durability and Impact
Cost and durability do not move together, which is why the brief matters. The table below reflects typical production experience rather than a price list; every order is quoted against the actual board, size and quantity.
| Technique | Visual Impact | Durability | Cost Driver |
|---|---|---|---|
| Foil stamping | Very high | High if kept off fold lines | Die cost, foil coverage, number of hits |
| Emboss / deboss | High (tactile) | Very high | Embossing die, board thickness |
| Spot UV | High on dark board | Medium | Number of passes, registration accuracy |
| Soft-touch coating | High | Medium (scuffs, fingerprints) | Coating coverage, handling care |
| Matte lamination | Medium | High | Film grade, whether anti-scratch |
| Textured / pearl paper | Medium-high | High | Paper grade and availability |
| Die-cut window | High | Medium | Dieline complexity, window patching |
| Edge painting | Medium | Medium | Labour, colour matching |
| Inside printing | High | High | Additional print run and hand assembly |
Where Finishing Goes Wrong in Production
Most finishing defects are avoidable at the brief stage. The problems we see most often on press are foil that fails to release evenly, spot UV that registers slightly off the underlying print, soft-touch coating that scuffs during packing, and embossing that splits the wrap on a tight radius. Textured stock is more forgiving of a light emboss but less forgiving of a heavy foil hit.
Material choice drives much of this. A heavily coated C2S art board takes foil evenly but hides a deboss; an uncoated board or fancy paper takes an emboss crisply but can lint under a hot foil die. Where a brand wants both a deep emboss and a fine foil line, we usually split them onto two passes and test a sample before tooling.
Materials and Board Choices Behind a Premium Finish
Finish sits on top of a substrate, and the substrate decides what is possible. Rigid boxes are typically built on grey board, duplex grey board or chipboard, then wrapped in C1S or C2S art paper, special paper, pearl paper, leatherette or black card. Folding cartons more often use CCNB board, coated or uncoated board, kraft or corrugated flute paper.
- Grey board and chipboard give a rigid box its weight and its ability to hold an emboss.
- C1S and C2S art paper are the standard wraps for print quality and foil release.
- Special and textured paper carry hand-feel without lamination, at a higher unit cost.
- Leatherette and pearl paper suit fragrance and jewellery, where the wrap itself is the finish.
- CCNB and uncoated board keep folding cartons economical while still taking varnish and foil.
Which Finishes to Combine Without Overloading a Box
The most common failure in luxury packaging finishing is stacking techniques until the box looks cheap, so it is worth deciding the combination before the board. A useful rule is one dominant effect and one supporting effect.
- Foil plus deboss reads as one deliberate metallic mark and suits a logo on a lid.
- Spot UV over matte lamination gives contrast without extra tooling on a pattern.
- Emboss on textured or pearl paper leans on the stock itself instead of a coating.
- Edge paint plus inside print buys the opening moment rather than the outside face.
Where a brand wants a “wow” opening, spend the budget on structure and inside print rather than on the outside face, because the second surface is seen once but at the moment attention is highest. Keep foil away from fold lines and edges, where it cracks under repeated handling, and specify the board first — a thin board telegraphs an emboss through the reverse side.
Inserts are chosen in parallel, because a deep finish on the lid often pairs with a foam, EVA, moulded pulp, velvet or paperboard insert, and the two must be sampled together.
Finishing for Retail Shelves vs E-Commerce Parcels
The channel changes the answer. A retail box is judged in seconds under store lighting, so it can carry bolder foil, high-contrast spot UV and a window. An e-commerce parcel is judged after a courier journey, so scratch resistance and structural protection matter more than surface shine; here anti-scratch matte lamination and a protective mailer around a finished rigid box beat additional decoration.
Where the same SKU ships both ways, we normally specify one finish set and two outer packs, rather than finishing the parcel box itself to the same standard — the consumer keeps the inner box, not the shipper.
Designing the Finished Box into the Manufacturing Process
Finishing is not a step that can be bolted on after a dieline is approved. The process below is the sequence we follow for a premium finishing brief.
Brief and finish selection
Structure, board and the intended finish set agreed against the channel, the brand and the target cost.
Structural sample and dieline
A white sample confirms fit, board thickness and where a window or edge paint will land before artwork.
Printing and finishing trial
Foil, emboss and spot UV trialled on the chosen stock, with registration and adhesion checked on the sheet.
Pre-production sample approval
Final sample checked for colour, foil coverage, emboss depth, scuff resistance and insert fit; both sides sign off.
Production with AQL inspection
Mass production monitored against ISO 2859-1 AQL for foil misses, poor coating, scratches, colour shift and glue marks.
Packing and dispatch
Finished boxes interleaved and protected so the finish arrives as it left the line.
Quality Control for Premium Finishing
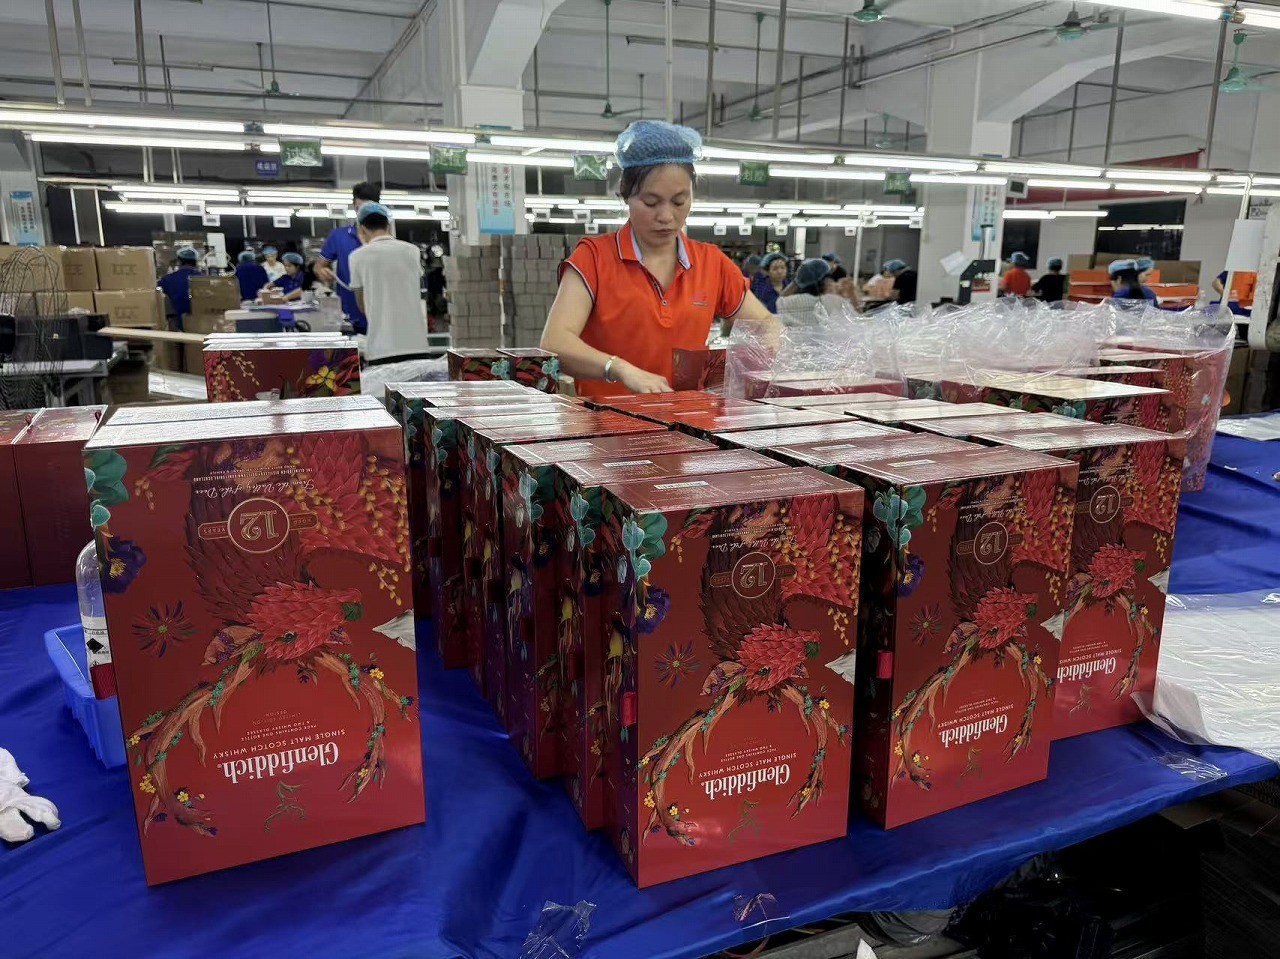
Finishing defects are the easiest to spot and the hardest to fix after packing, so we inspect them early. The defects we track on a finished premium box include poor coating, streaks in the varnish, spots and ink picks, scratches and abrasion, colour shift between batches, missing print, foil that has not released cleanly and embossing that has cracked the wrap.
Inspection follows ISO 2859-1 AQL, with the sample size set by lot size and the acceptance number agreed with the buyer up front. Where a brand prints a durability claim, we keep the board, film and coating declarations on file against the production lot, so the finish can be evidenced long after the season closes.
Cost, MOQ and Lead Time for Premium Finishing
Each finishing step adds a pass through the plant, and each pass costs. Foil and emboss add tooling; spot UV and soft-touch add a coating pass; edge painting and inside print add labour. Because of that, finishing is where a brief is most likely to be trimmed to hit a target price — usually by reducing the number of effects, not by weakening the structure.
| Factor | Typical Range | What Changes the Number |
|---|---|---|
| MOQ | From a few hundred to around 1,000 pieces | Structure, board grade, whether custom foil or emboss tooling is needed |
| Sampling | Free white sample; printed and tooling-backed sample charged | Number of revisions, tooling complexity |
| Lead time | About 15–25 working days after sample approval | Number of finishing passes, peak-season loading |
| Tooling | Foil die, emboss die and dieline charged separately | Number of hits, size of the foiled area |
Our standing advice for a premium festive or launch range is to lock the finish specification by late summer, because changing a foil coverage or an emboss depth after tooling is where both cost and delay accumulate.
Frequently Asked Questions
Which finishing technique makes packaging look most expensive?
There is no single answer, but a single well-placed effect beats several. A clean deboss or a precise foil stamp on a matte or textured surface reads as more expensive than multiple layered effects, because restraint signals confidence.
Should I choose matte or gloss lamination?
Matte lamination is the modern, restrained default and photographs well; gloss lamination is the traditional high-shine look. Where the box will be handled often, choose anti-scratch matte lamination so the finish survives retail.
Can embossing and foil be combined on one box?
Yes, and they are often combined to great effect, but they usually need separate passes. Foil over an emboss reads as one metallic mark; foil beside a deboss across a large area risks registration drift and a cracked wrap.
How much does premium finishing add to the cost?
It depends on the number of passes and whether tooling is required. Foil and emboss carry die costs; spot UV and soft-touch add a coating pass; edge painting and inside print add labour. Reducing the number of effects, rather than the structure, is the usual way to trim a budget.
What is the minimum order quantity for a finished premium box?
Typical projects start in the low hundreds and most volume programmes sit around 500–1,000 pieces per SKU. We confirm the exact floor once the structure, board and finish set are fixed.
Do you provide free samples before tooling?
We provide a free white sample so a buyer can check structure, board thickness and fit before committing. Printed and tooling-backed samples carry a cost, credited against the production order.
Final takeaway: how DHP Boxes can help
Luxury packaging finishing is a specification exercise. Choose one dominant effect, support it with one quieter one, keep foil off fold lines, match the finish to the channel, and evidence every durability claim with a sample and a declaration. Done that way, a finished box looks and feels more valuable than a heavily decorated one.
DHP Boxes is a packaging manufacturer offering foil stamping, embossing and debossing, spot UV, matte and gloss lamination, soft-touch coating, die-cut windows, edge painting and inside printing on FSC-certified boards, with full OEM/ODM support from structural sample to AQL-inspected production. Learn more about DHP Boxes, browse our packaging products, read further guides on our blog, or send us an inquiry with your product details, structure, finishing, quantity and target delivery date.
Request a premium finishing quote