Manufacture
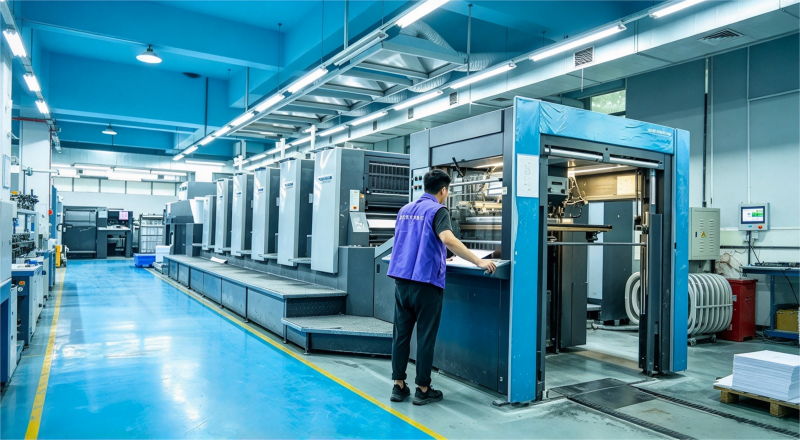
Explore our packaging factory, production equipment and rigid box manufacturing operations.
Explore Manufacturing
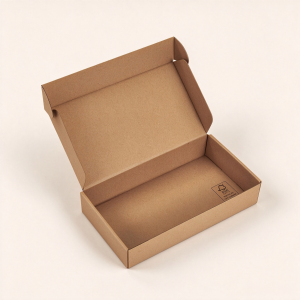
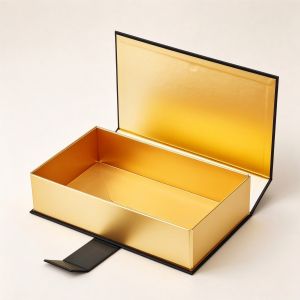 Folding Rigid Boxes
Space-saving rigid packaging designs.
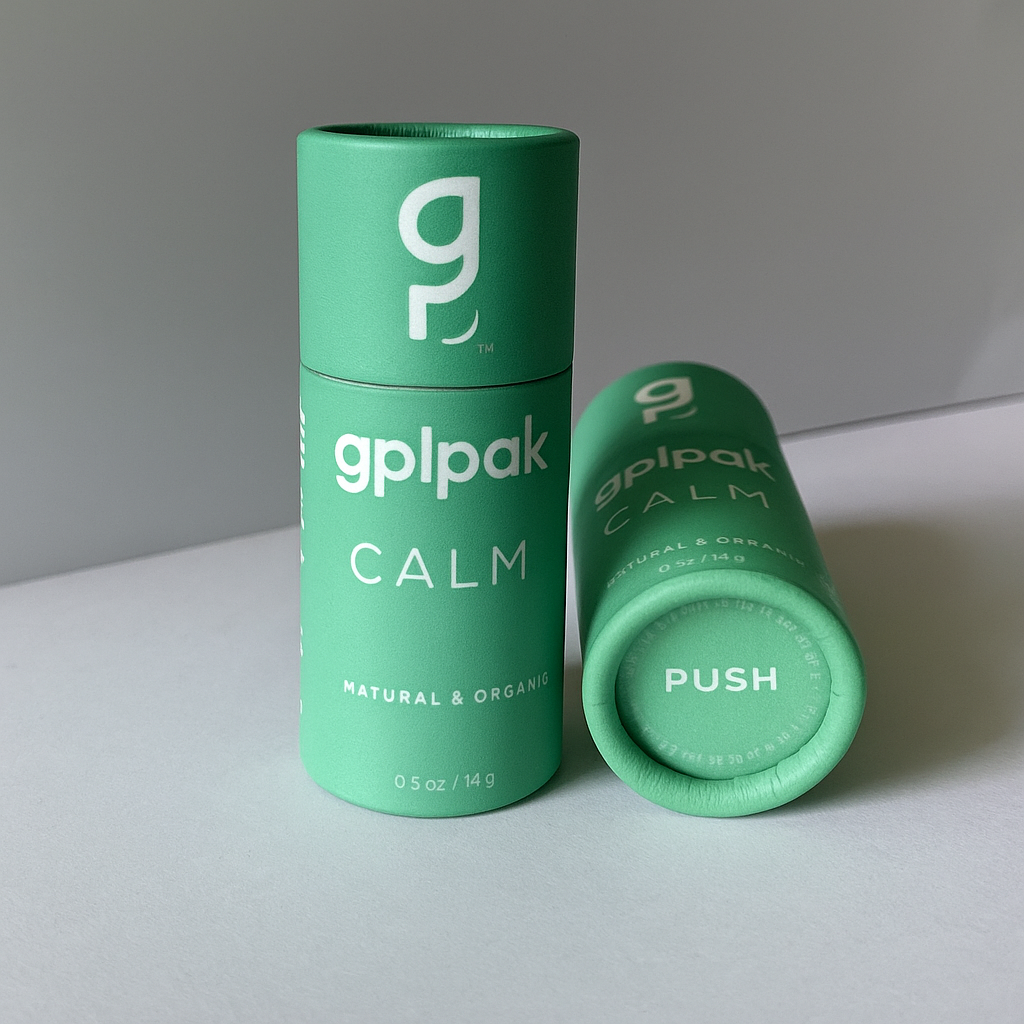
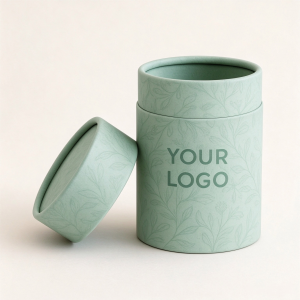 Packaging Tube Boxes
Distinctive cylindrical paper packaging.
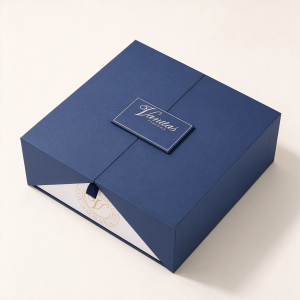
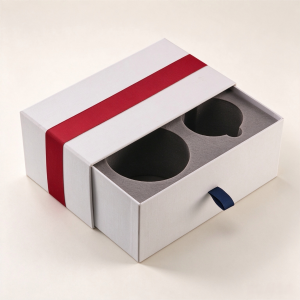 Drawer Boxes
Elegant sliding drawer box structures.
 Book-Style Boxes
Luxury book-inspired packaging designs..
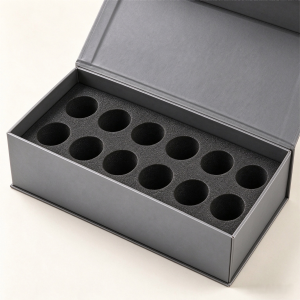
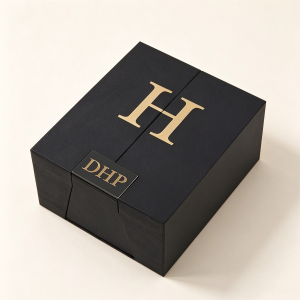 Magnetic Closure Boxes
Premium boxes with secure magnetic closure.
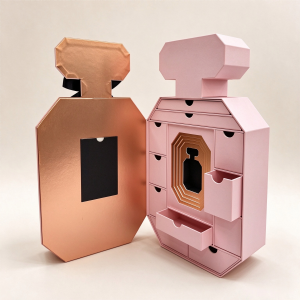 Advent Calendar Boxes
Multi-compartment seasonal gift packaging.
Explore our packaging factory, production equipment and rigid box manufacturing operations.
Explore Manufacturing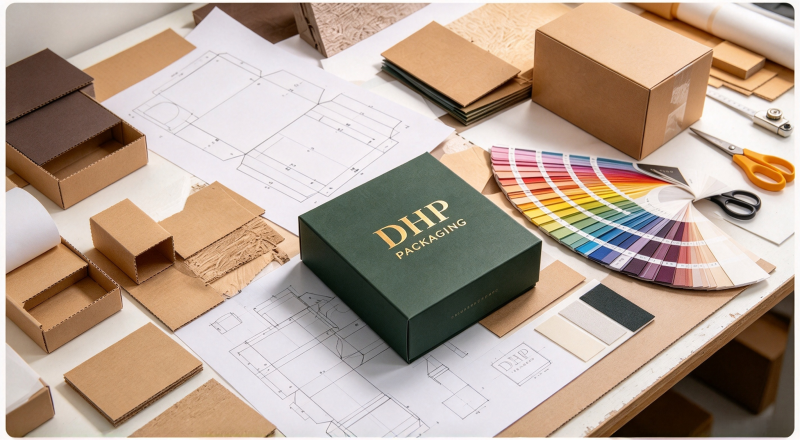
Discover our workflow from structural development and sampling to printing, assembly and quality control.
Explore Our Capabilities
Learn about responsible material choices, recyclable packaging design and reducing unnecessary material use.
Explore Sustainability
Professional packaging design support from concept to production.
Get Design Support →Explore practical packaging insights and quick answers to help you plan, customize, and order with confidence.

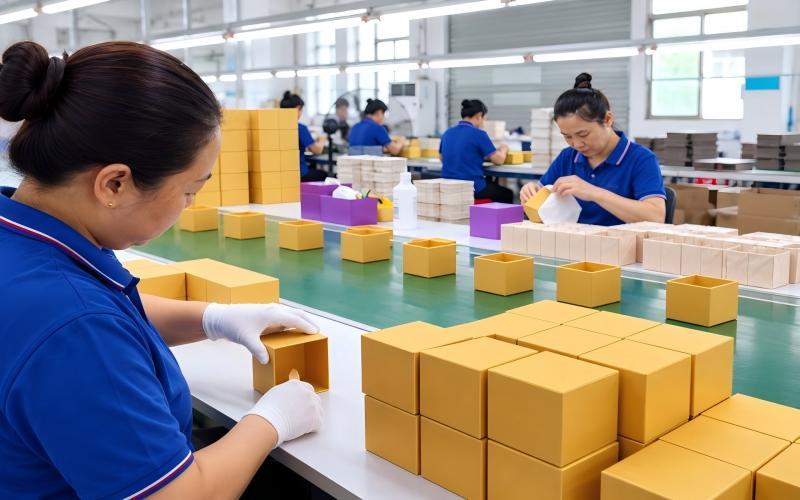
Discover our manufacturing expertise, dedicated team, and commitment to premium custom packaging solutions.
Explore Our Company →Stay connected with DHP Boxes
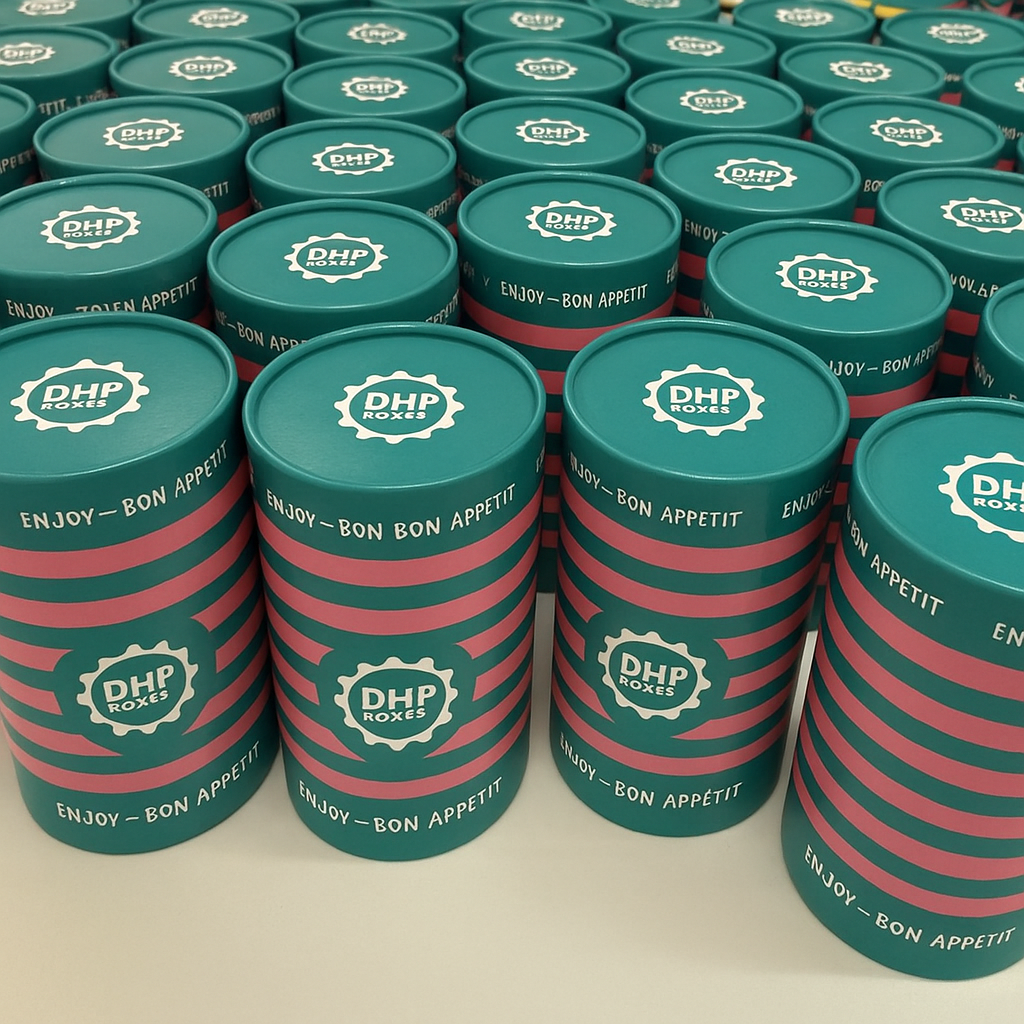
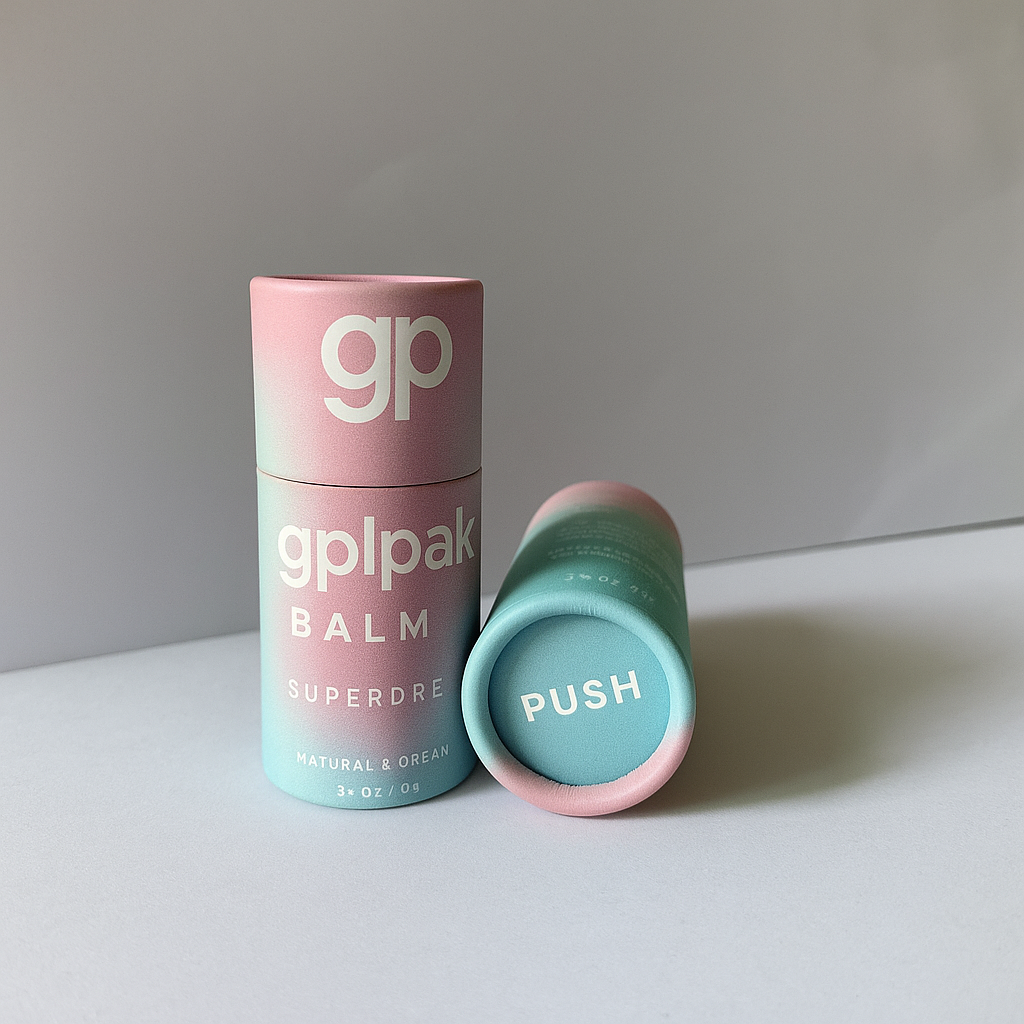
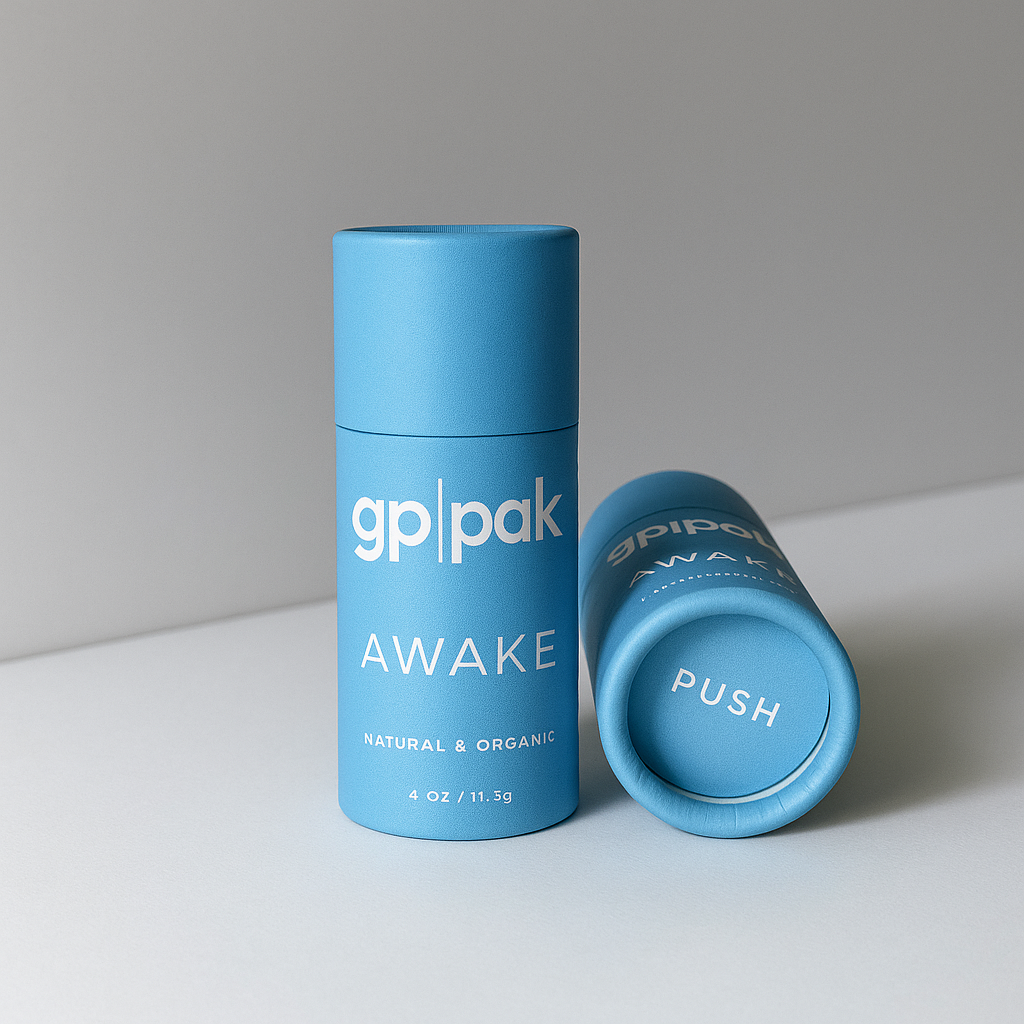

We understand that choosing the right boxes for your industry is critical. That’s why we invite you to contact us. Whatever your goals, DHP will help you achieve them.
Contact NowWe have a strong team that works closely with customers to meet market challenges and effectively meet specific needs. Your thought, we fulfill.
Request a Custom QuoteDHP Factory is committed to delivering manufacturing excellence.
